FRENCH DRAIN INSTALLATION
DON'T LET WATER FLOOD YOUR HOME OR YARD
GET A FRENCH DRAIN INSTALLATION IN DOVER & BARRINGTON, NH AND YORK & ELIOT, ME
Water is a vital resource for your plants, but too much of it can damage your home and yard. Fortunately, you can move water away from problem areas with a French drain installation in Dover & Barrington, NH and York & Eliot, ME.
A French drain - or, footing drain - uses a gentle slope or pipe to move water automatically. An excavation contractor from Northern Home & Excavation, LLC can dig a drain into your yard to move water from places where it will cause damage to areas where it can provide benefits. You can move water to a dry well, rain garden or off of your property entirely.
Our owner has been working in home construction since he was a teenager and knows how to handle your project. Schedule a French drain installation in Dover & Barrington, NH and York & Eliot, ME today by calling us.
HOW OUR PROCESS WORKS
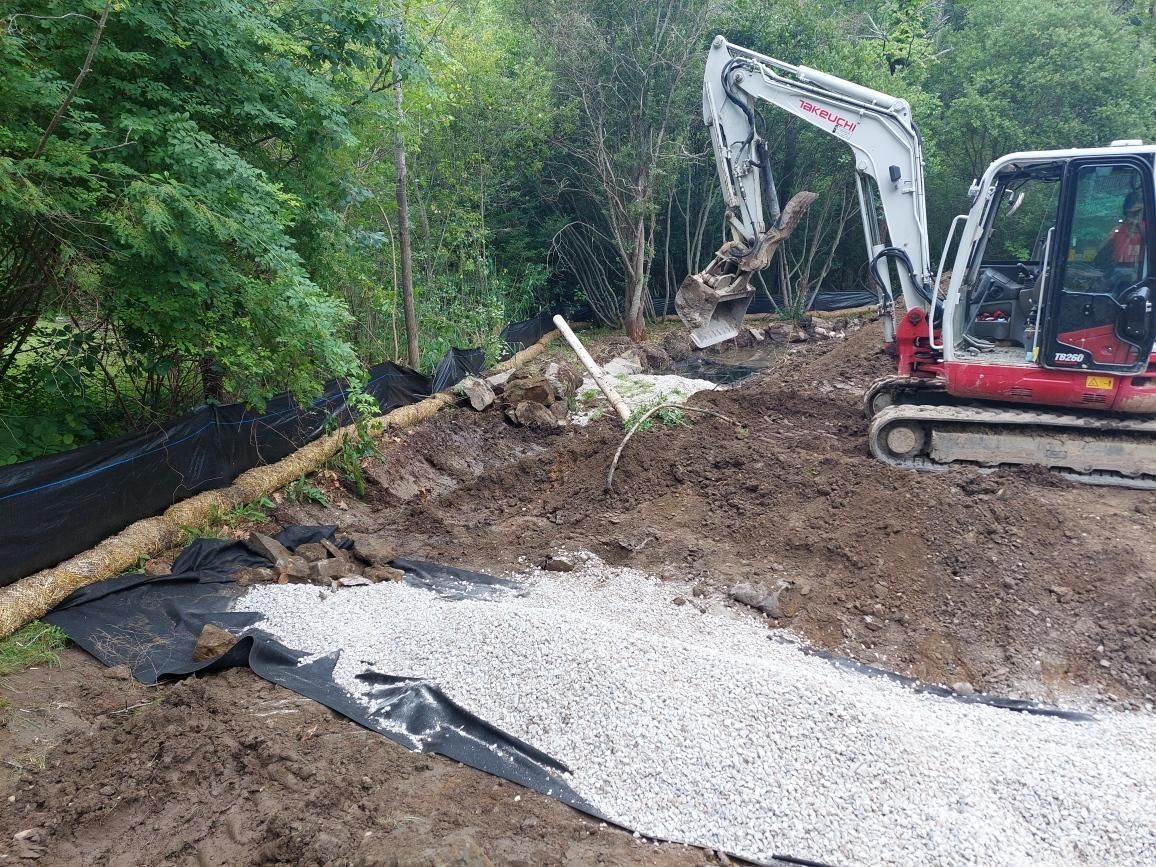
Excavating your yard might sound like an intimidating process. The Northern Home & Excavation team in Dover & Barrington, NH and York & Eliot, ME has the lighter equipment and expertise to get the job done right without tearing up your yard. We will...
- Examine your yard to identify problem areas
- Dana at Northern Home & Excavation, LLC will develop an effective drainage plan and give you a free estimate
- Dig trenches and lay down all the necessary piping
- Cover your drain with crushed stone or soil to make it look as good as new
Tired of Basement Flooding?
Steps to a better French drain install leads to a “dryer basement”
Steps to installing a French drain
Here are the typical steps for installing a French drain to manage groundwater and direct water away from a home, driveway, or yard.
1. Plan the Drainage
Identify where water collects.
Choose a safe discharge point (daylight, drainage ditch, dry well, or approved storm drainage).
Verify utility locations before digging.
2. Lay Out the Route
Mark the drain path.
Plan for a continuous slope of approximately 1% (about 1/8 inch per foot) toward the outlet.
3. Excavate the Trench
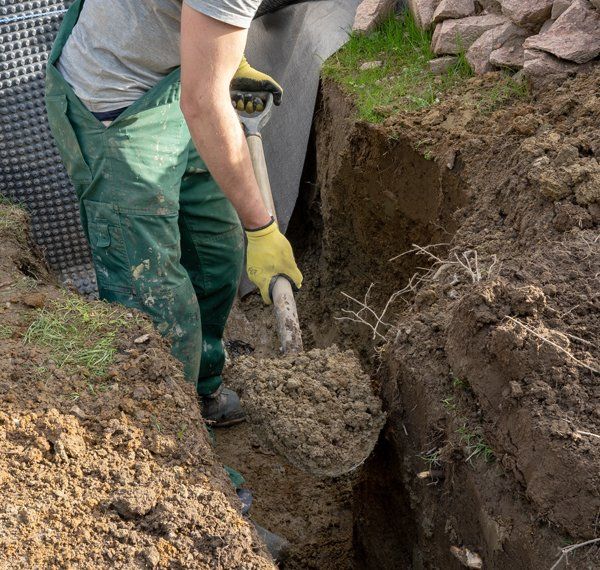
Dig a trench wide enough for the pipe and gravel (commonly 12–18 inches wide).
Depth depends on the application, often 18–36 inches or more.
Remove roots, large rocks, and soft material.
4. Check Grade
Use a laser level or transit to confirm a consistent downhill slope.
Eliminate low spots where water could stand.
5. Install Geotextile Fabric
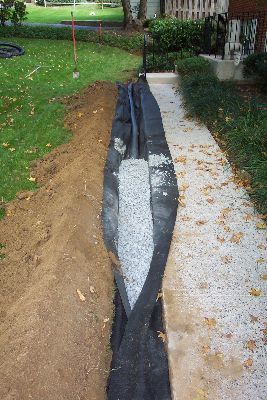
Line the trench with non-woven filter fabric.
Leave enough fabric extending over the sides to wrap over the top later.
6. Add a Gravel Base
Place 2–4 inches of clean, washed drainage stone (such as ¾-inch crushed stone).
Level the gravel while maintaining the proper slope.
7. Install the Perforated Pipe
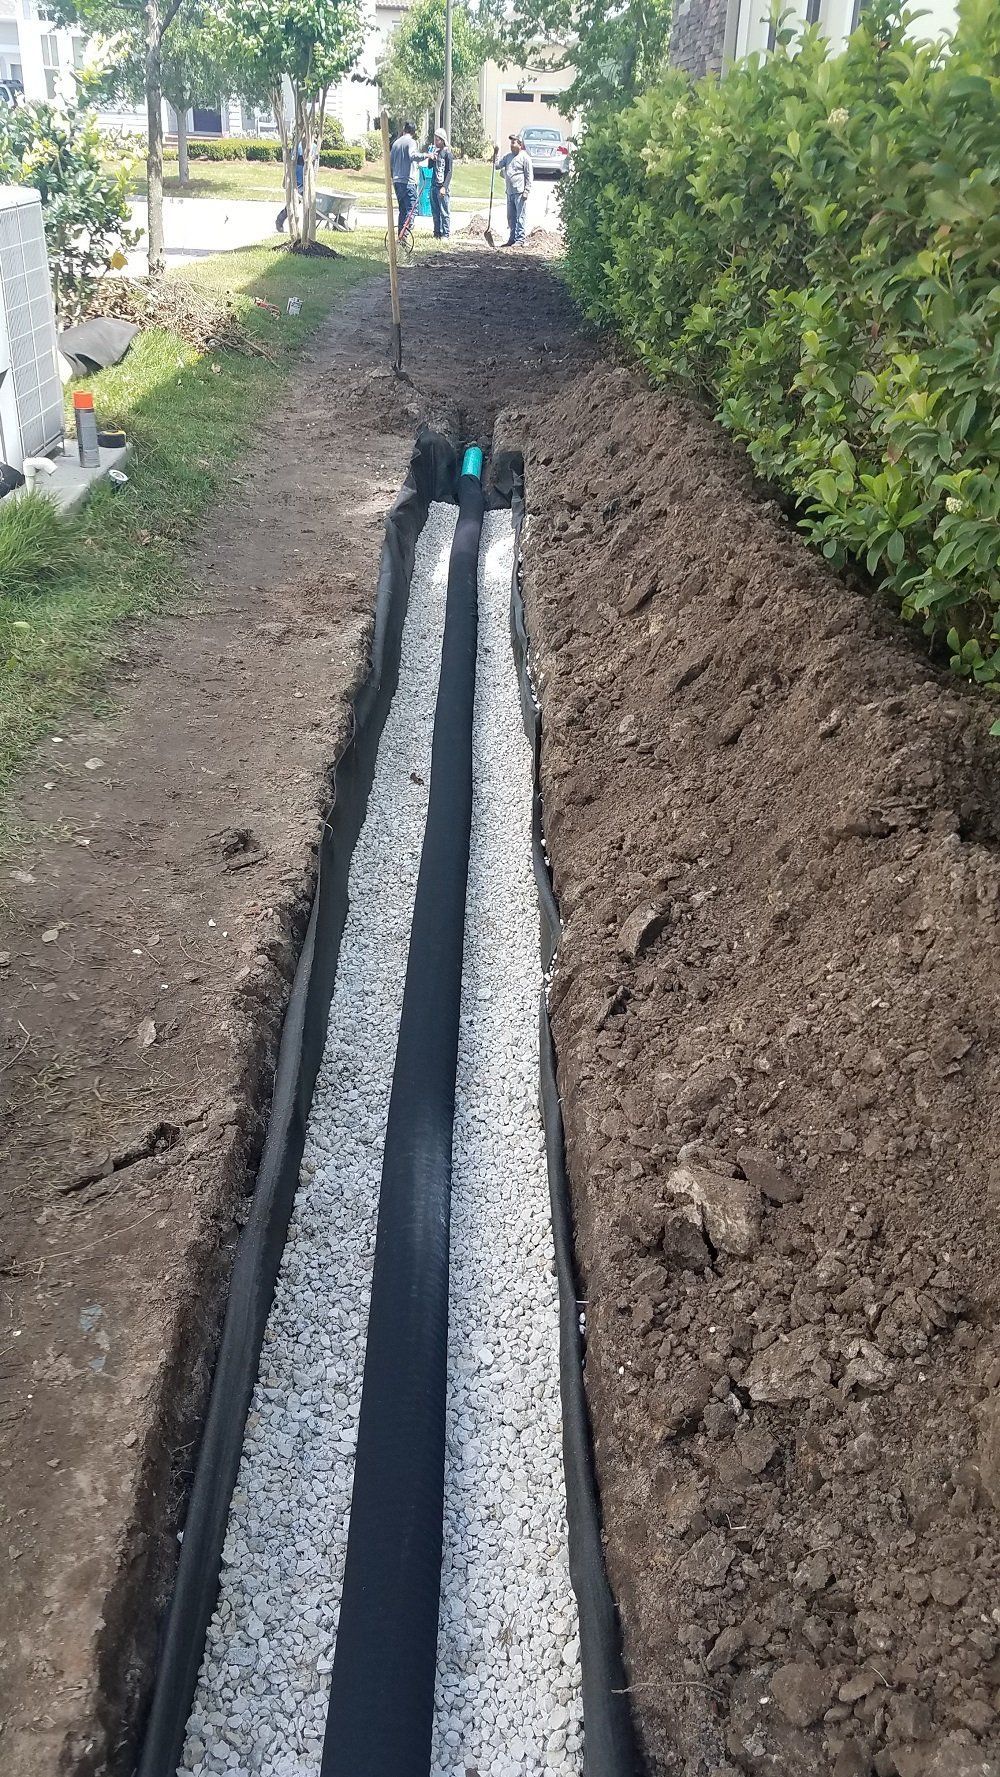
Lay the perforated drain pipe on the gravel.
Keep the pipe aligned with the designed slope.
Connect fittings and cleanouts if needed.
8. Cover with Gravel
Surround and cover the pipe with clean, washed stone.
Continue until the gravel is several inches above the pipe.
9. Wrap the Fabric
Fold the geotextile fabric over the top of the gravel to help keep soil from clogging the drain.
9. Wrap the Fabric
Fold the geotextile fabric over the top of the gravel to help keep soil from clogging the drain.
10. Backfill and Finish
Backfill with topsoil or decorative stone, depending on the desired finish.
Seed or restore landscaping as needed.
11. Test the System
Run water through the drain or wait for a rain event.
Confirm water flows freely to the outlet and drains away from the area.
Best Practices
Maintain a consistent slope throughout the installation.
Use clean, washed aggregate rather than sand or soil around the pipe.
Ensure the outlet remains open and protected from erosion or blockage.
Install cleanouts on longer runs to simplify future maintenance.
A properly installed French drain can provide decades of reliable drainage when the trench is graded correctly, uses quality filter fabric and clean stone, and discharges water to an appropriate outlet.
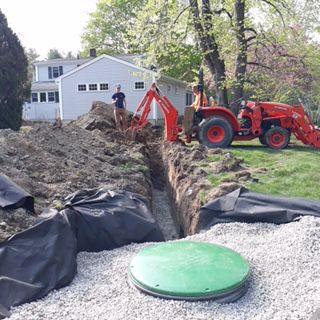
French Drain in Field (Taco Wrapped) into a custom built Dry well
Step #1:
- Excavate along foundation & footings
- Clean & Power wash
Step #2:
- Waterproof (use commercial grade applied by hand)
- Let dry for 24 to 48 hours (based on weather)

Step #3:
- Set in a bed of crushed stone wrapped in fabric “Taco wrap” (minimizes silt entering the bed area)
- Use Triple wall 4” Perforated PVC (stronger & more resilient than black flexible piping) It can take the weight of the ground above & maintain shape better
- Use silt sock over the pipe (extra precaution to keep materials from blocking the pipes)

Step #4: Run French drain line to Dry well tank
(Optional – Run down spout drain line along side/ above (same hole))
- Drain lines (Solid PVC) need to be set in a bed & surrounded by crushed stone (same as sewer lines)
- They compacted or tamped at a minimum of:
- 2% pitch for a 4” Pipe
- 1% pitch for a 6” Pipe
- The compacted crushed stone base maintains the pitch after back fill
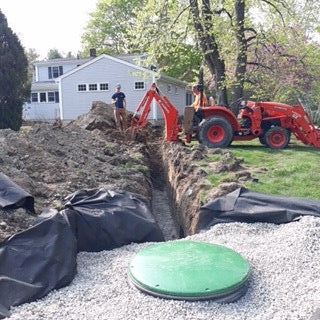
Step #5: Run drain line(s) to Dry well tank
- Excavate for a “dry well tank”
- We custom build the tanks out of 36” Culvert pipe (high density plastic) with a cover.
- This high density materials is designed for heavy loads to drive over & out lasts the cheap stuff you find in box stores
- Excavation for the hole allows for more than 12” of crushed stone set in fabric lined hole (helping to minimize silt washing into the system)

Step #6: Bury tank
- Close up & cover with the fabric
- Back fill over, grade yard & loam over